
Maybe your goal is to preserve the heyday of rail travel with a precise scale replica of a particular railroad station. Maybe you’re making a hyper-local edition of Monopoly in which the houses and hotels are the actual houses and hotels in your hometown.
Whatever the reason, if you have need for shrinkifying a building or other reasonably large object, there is (at least) one sure-fire way to do it, and [ nastideplasy ] is your guide with this tutorial on drone photogrammetry.
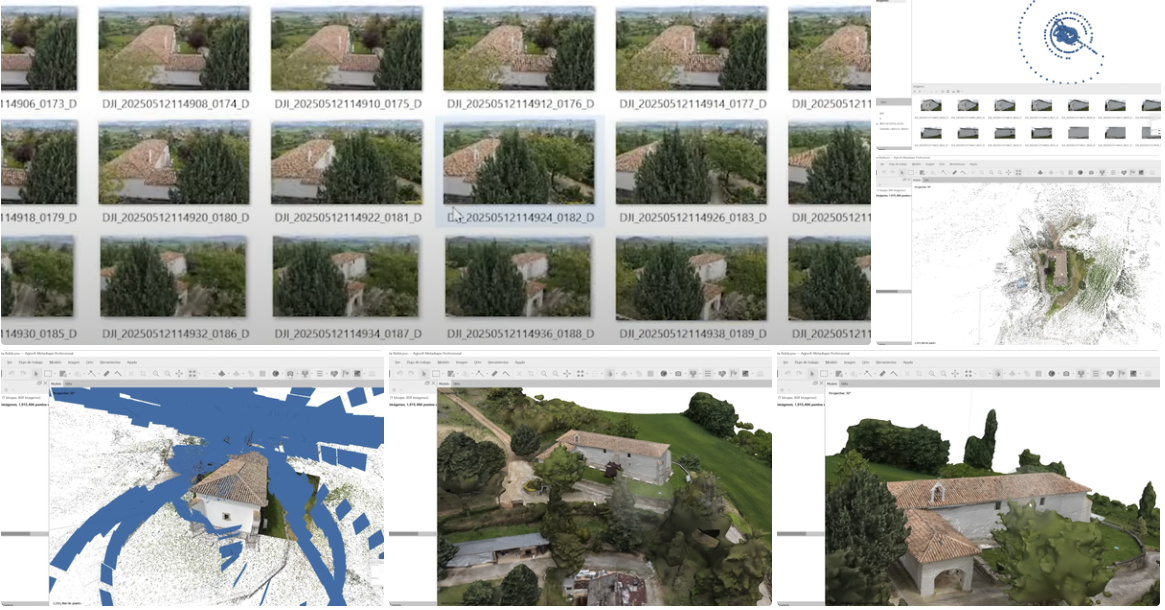
The process is essentially the same as any other photogrammetry you may have seen before—take lots of overlapping photos of an object from many different angles around it, stitch those photos together, make a 3D mesh by triangulating corresponding points from multiple photos—but this time the photos are captured by drone, allowing for much larger subjects, so long as you can safely and legally fly a drone around it.
The challenge, of course, is capturing a sufficient number of overlapping photos such that your reconstruction software can process them into a clean 3D mesh. Where purpose-built 3D scanners, automatic turntables, or a steady hand and lots of patience worked well at a smaller scale, skill with a pair of control sticks is the key to getting a good scan of a house.
[ nastideplasy ] also points out the importance of lighting. Direct sunlight and deep shadows can cause issues when processing the images, and doing this at night is almost certainly out of the question. Overcast days are your best bet for a clean scan.
The tutorial calls for software from Autodesk to stitch photos and clean up 3D meshes. We’ve also seen some excellent results with open source options like Meshroom as well.