
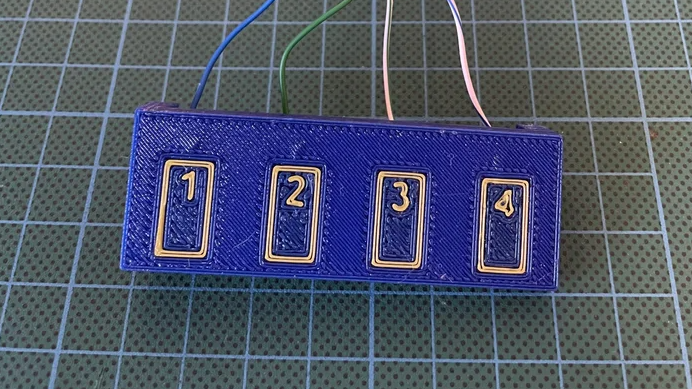
Capacitive touch sensors are entirely in the domain of DIY, requiring little more than a carefully-chosen conductive surface and a microcontroller. This led [John Phillips] to ask why not embed such touch buttons directly into a 3D print?
The process is not much different from that of embedding hardware like magnets or fasteners into 3D prints: one pauses the print at convenient spot, drops in the necessary hardware, then resumes printing. It’s more or less the same for embedding a touch-sensitive button, but [John] has a few tips to make things easier.
[John] suggests using a strip of copper tape, one per touch pad, and embedding it into the print near the surface. His preference is three layers in, putting the copper tape behind 0.6 mm of plastic when using standard 0.20 mm layer heights.
Copper tape makes a good capacitive touch sensor, and the adhesive on the tape helps ensure it stays in place as the 3D printer seals it in on subsequent passes.
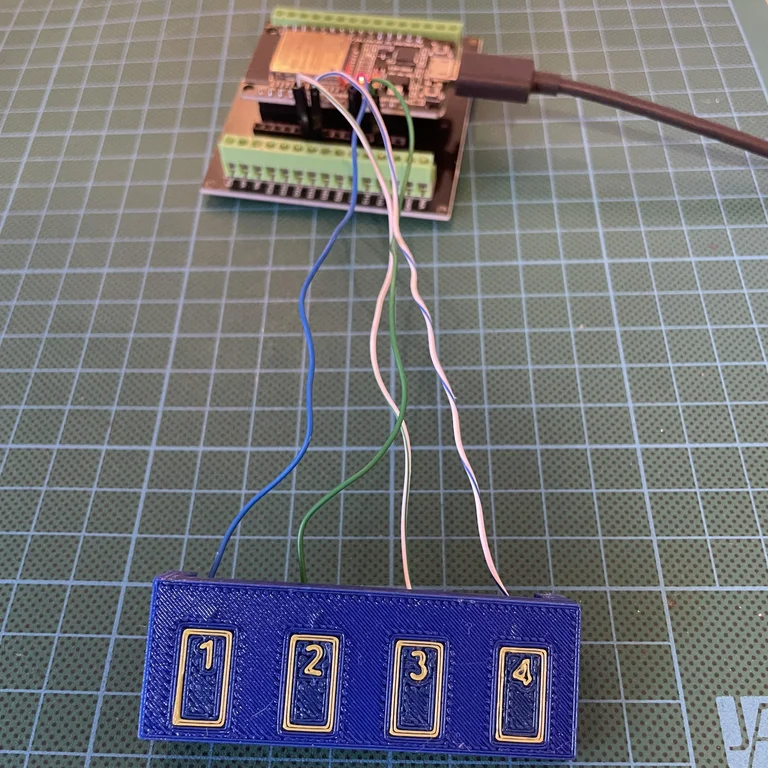
Copper tape is also easy to solder to, so [John] leaves a small hole over the copper — enough to stick in a wire and tack it down with the tip of a soldering iron and a blob of solder after the print is complete. It might not be ideal soldering conditions, but if things get a little melty on the back side it’s not the end of the world.
On the software side capacitive touch sensors can be as simple as using an Arduino library for the purpose but [John] rolled his own code, so give it a peek.
This reminds us a bit of another way to get a capacitive touch sensor right up against some plastic: a simple spring can do the trick.